Using Adobe Premiere To Make Animation Files
Pre-Requirement: Go to the Adobe Website (http://www.adobe.com) and Download Adobe Premiere Trial Version. (70M)
Prepare your Animation Final Project Image Frames:
- It is recommended that you render the image frame by 720X480 resolution.
- Image File names should be:
- Filename0000.tiff, Filename0001.tiff, Filename0002.tiff … ... Filename0100.tiff
- Install the Adobe Premiere Trial Version to your computer. Or go to Tompkins Hall Room 412 Computer Lab."
- Make a new Project File. Select NTSC 720X480 video for Windows or NTSC 720X480 QuickTime.
- Press Custom Setting and Select Mpeg-4 Video Codec V1 (The Default Cinepak Codec by Radius is not good for quality and size)


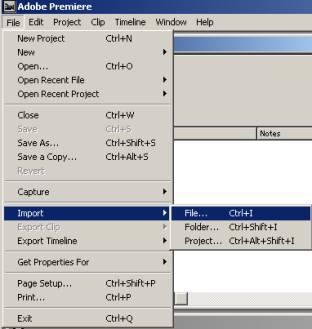
- From File Menu, Select Import->File;
- In the File Open Dialog, Choose First Image Frame and Check Numbered Stills


- Now you will see the imported image clips in Project Window.

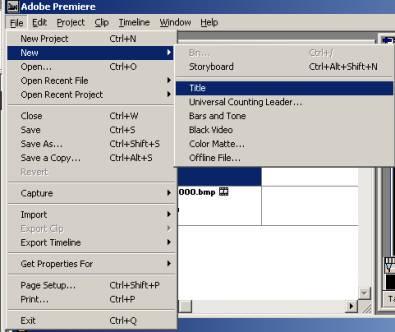
- To add a title to your animation, Click the File->New->Title. The Title Window will pop up.


- In order to composite the Title with background, you should make the title as non-opaque.
To do this, go to Window->Window Option->Title Window Option and uncheck the opaque checkbox


- Drag The Title clip and Background Image clip (Or Animation clip) to the Timeline Window.
Pay attention that Background clip is in Video 1A(Opaque) and Title Clip is in the Video track 2 or above (superimposition track)

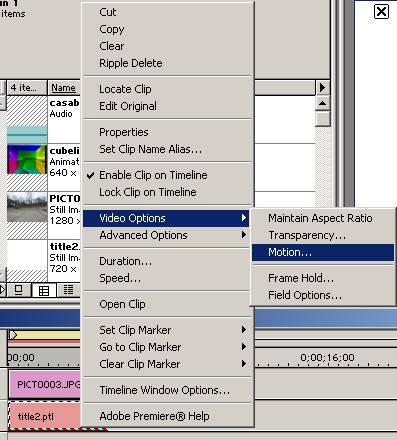
- To Animate the title, right mouse click the Title clip and select Video Option->Motion. And At the Motion Window Change the Title Animation effect.


- (Optional) To make a transition effect between two movie clips, go to the Transition tool bar and select one transition type and drag it to the Transition timeline.
- Double Click the transition and change the transition setting. Check the Show actual source to see the effect.


- Adding Audio Clips: Like importing image files, At the File->Import->File Menu, Select one or more Audio file clips.

- Drag the Audio Clips to the Audio track. In the preview mode you can hear the sound of the audio clip.

- Editing Audio clip is very important if you want to make some good sound effect.
- Press the cut button in the Timeline Tool bar, go to the audio clip and cut at the point you want to edit.
- The Audio clip will divide into two, and you can discard unwanted part.


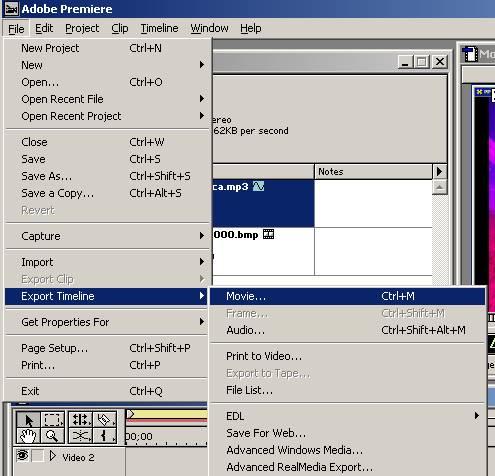
- Finally, Export the timeline to an AVI file. Go to the File-> Export Time Line->Movie menu. Type in your desired movie file name and wait for the premiere to make an Animation file for you.